1. Confirm the Source Is Actually the Condensate Line
Before you tear into anything, verify the leak is from the AC and not a roof issue or plumbing line above the unit.
- Water appears only when the AC is running
- Drip pan under the air handler is full or overflowing
- PVC drain line outside is bone dry (it should be dripping)
- Float switch tripped and shut the system off
- Musty smell near the air handler closet or attic unit
- Stains directly under or downstream of the HVAC equipment
If two or more of those match, you have a condensate line problem.
2. Shut the System Down Immediately
Every minute the AC keeps running, more water hits the floor or ceiling.
- Switch the thermostat to OFF (not just a higher temp)
- Flip the AC breaker at the panel for full isolation
- Place towels or a shallow bin under the drip pan
- Open windows briefly to release humidity if outside air is drier
- Take photos of standing water, stains, and the equipment before you clean
Those photos matter for insurance. Sudden and accidental AC leaks are typically covered, but long-term seepage is not, so timestamps help.
6. The Dry-Out Process We Use
If the saturation is real, surface fans will not cut it. IICRC S500 standards call for controlled drying with monitoring.
- Extract any standing water with truck-mounted or portable units
- Remove wet insulation and unsalvageable drywall (flood cuts at 2 or 4 feet)
- Set commercial air movers at calculated spacing per affected area
- Run LGR dehumidifiers sized to the cubic footage
- Take daily moisture readings until materials hit dry standard
- Apply antimicrobial to surfaces that contacted contaminated condensate water
AC condensate is technically Category 2 water because it sits in a pan with biofilm and dust, so we treat it accordingly. For a deeper look at that classification, our grey water Category 2 cleanup guide explains why it matters.
Typical dry-out timelines for AC leaks in Cloverdale:
- Surface drying of one room: 2 to 3 days
- Ceiling cavity with insulation removed: 3 to 5 days
- Subfloor saturation under hardwood: 5 to 7 days
- Multi-room damage with mold remediation: 7 to 10 days
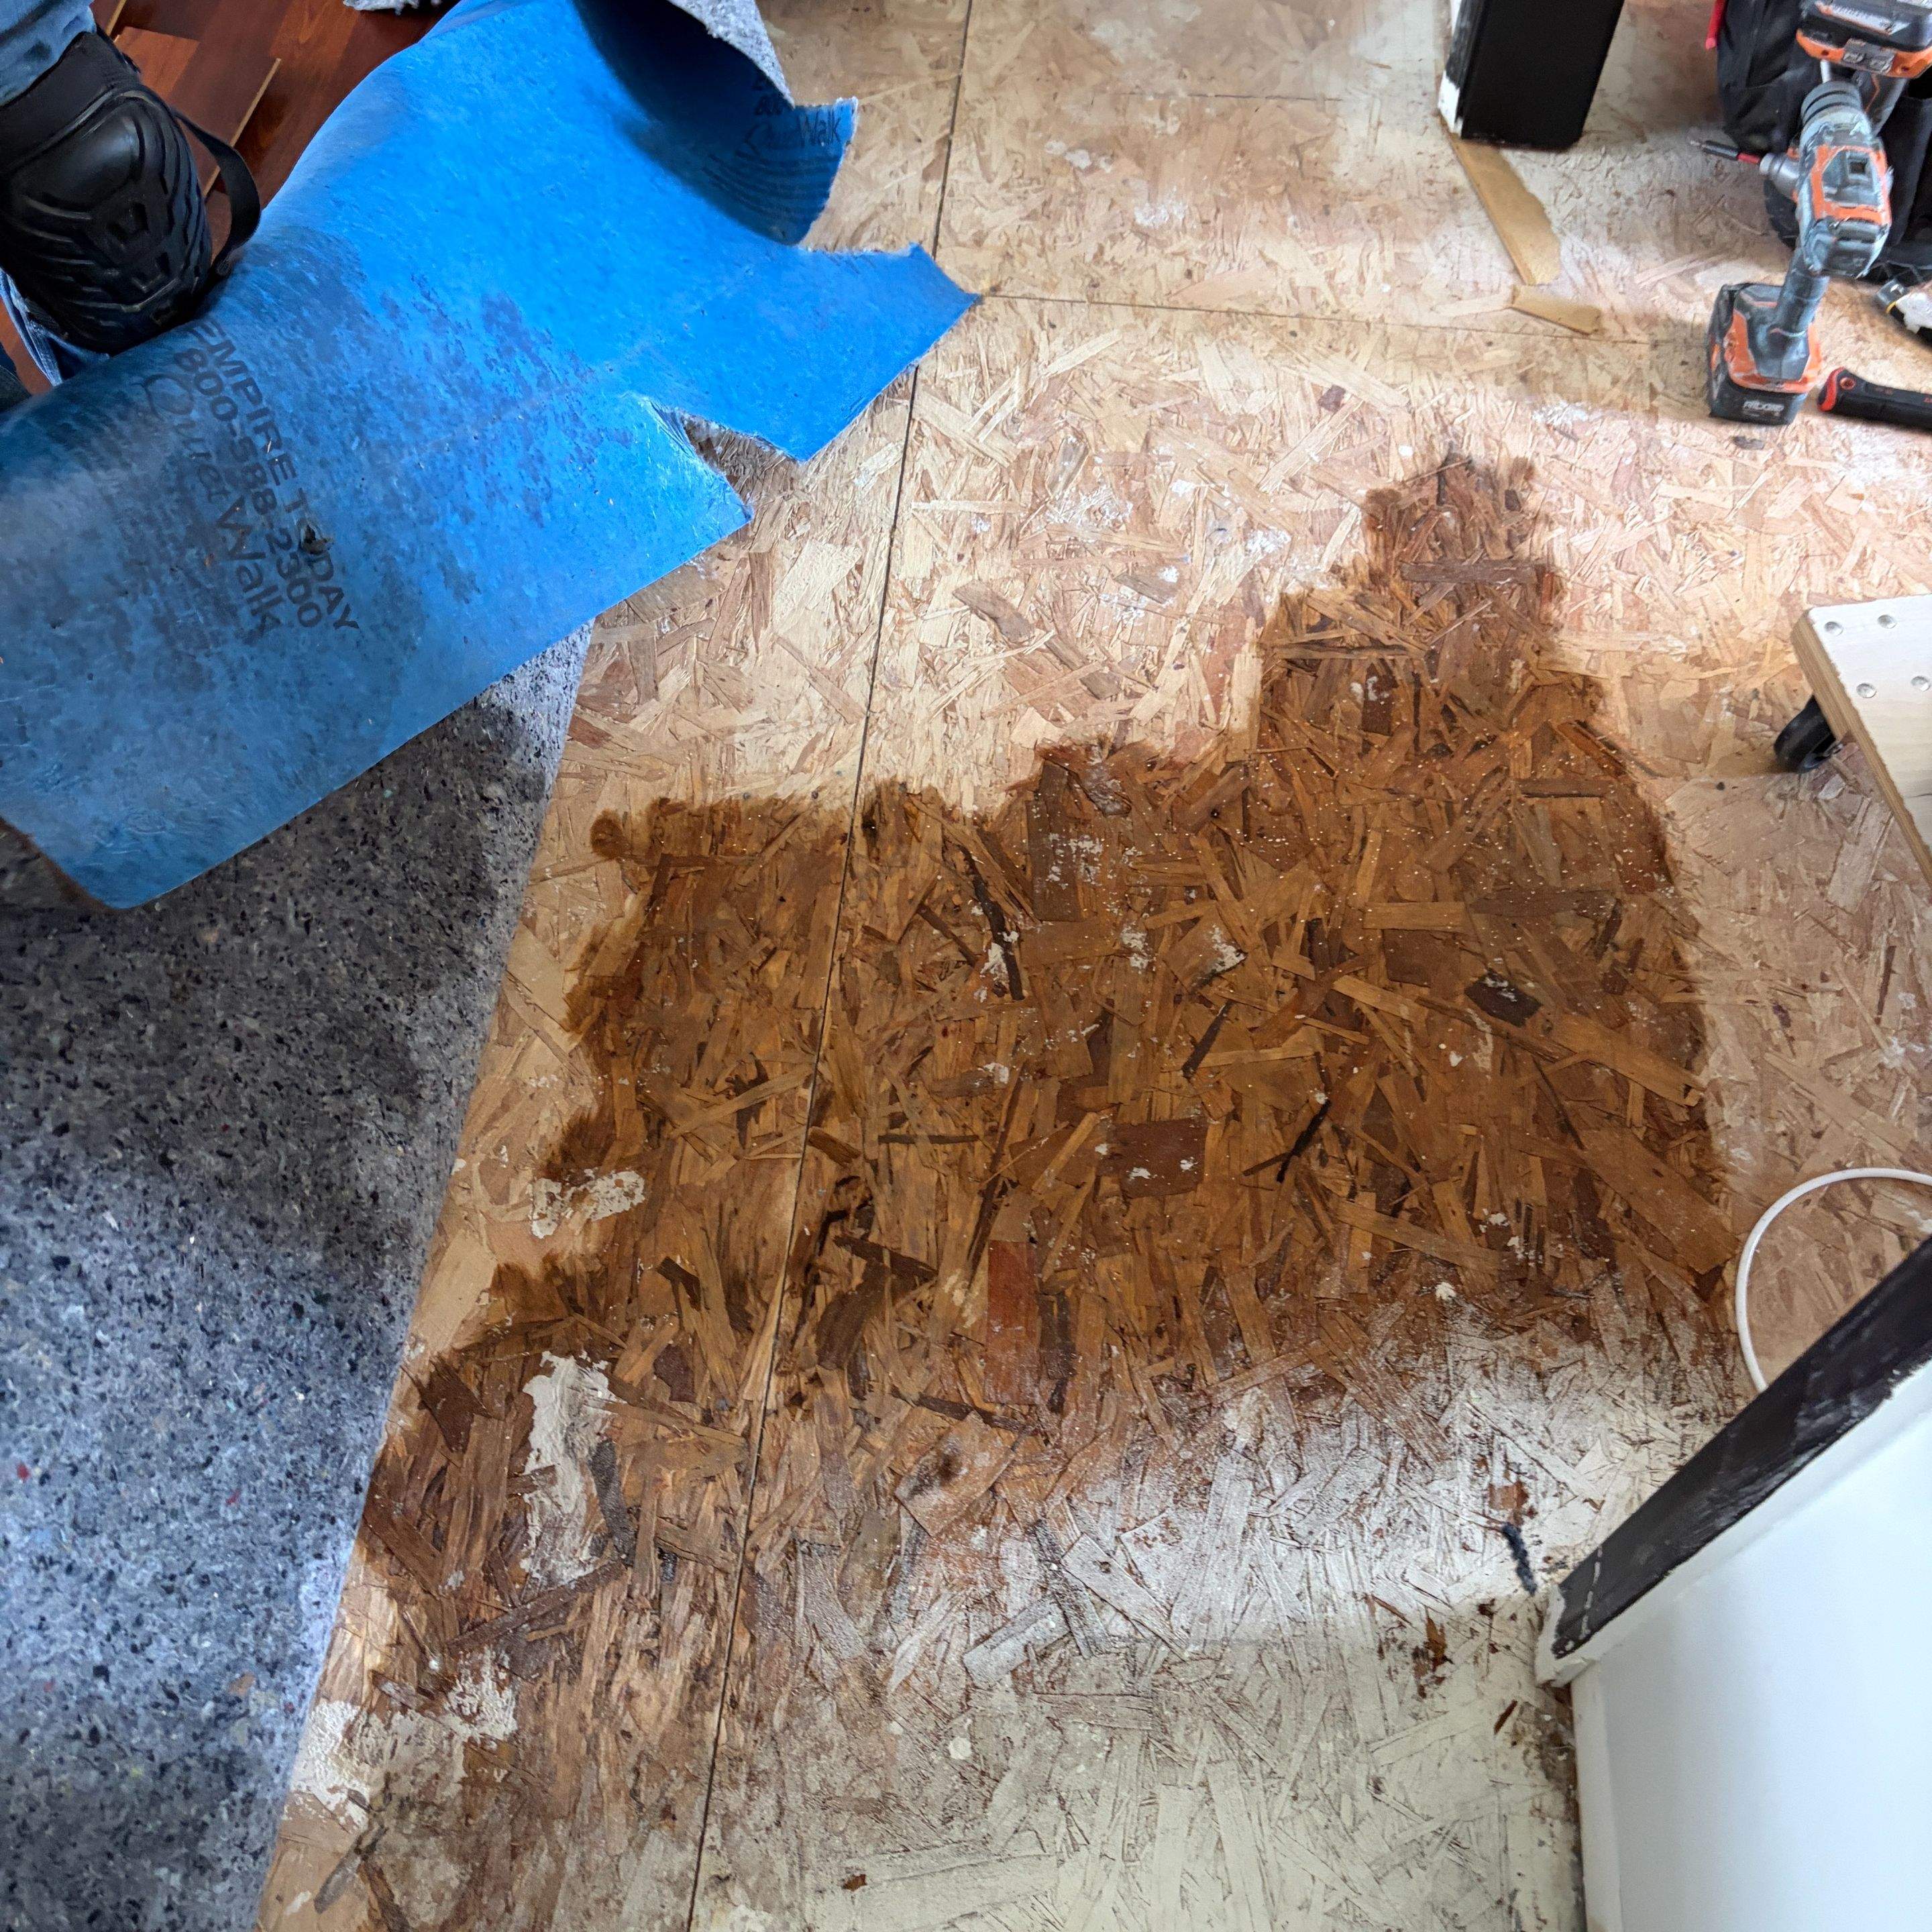
4. Assess the Real Damage (This Is Where Homeowners Underestimate)
The visible wet spot is usually 30 to 50 percent of the actual saturated area. Water wicks sideways into drywall, insulation, and subfloor.
- Press firmly on drywall near the stain. Soft or spongy means saturation
- Check the ceiling below an attic unit for sagging or bubbling paint
- Pull back carpet at the edge near the air handler and feel the pad
- Look at baseboards for swelling or separation from the wall
- Smell the air handler closet. Musty odor means mold is starting
- Inspect any HVAC platform in the attic for rusted metal or warped wood
If you find any of those, the dry-out window is closing. Mold can start growing in 48 to 72 hours in Cloverdale humidity. Our team uses thermal imaging and pin meters to map the full moisture footprint, which is the same approach we use for ceiling water damage from any overhead leak.
7. Prevent the Next AC Leak
Most Cloverdale homeowners we treat for condensate damage had no idea this needed maintenance.
- Flush the drain line with vinegar every 60 days during cooling season
- Replace the air filter monthly to prevent coil icing and overflow
- Have HVAC service the unit each spring before peak humidity
- Install a float safety switch if your unit does not have one
- Add a secondary drain pan under attic-mounted air handlers
- Insulate the condensate line in unconditioned spaces to stop sweating
A $15 float switch prevents thousands in ceiling repairs. Worth every penny.
Signs Your AC Is About to Leak Again
Catch the warning signs before water hits the floor:
- Ice forming on the copper refrigerant lines
- Higher than normal humidity inside even with the AC running
- Gurgling sounds from the drain line
- Water spots reappearing in the same ceiling area after a repair
- A drain line that drips slowly outside instead of running steadily
If you spot any of those, schedule service before the next heat wave. Cloverdale Water Restoration is on call 24/7 in Cloverdale when prevention runs out and you need fast mitigation.
5. Understand What Professional Restoration Actually Costs
Pricing varies by how far the water traveled and what materials it touched. Honest ranges for Cloverdale homes:
- Light leak, surface drying only: $500 to $1,200
- Saturated drywall and insulation removal: $1,500 to $3,500
- Ceiling damage from attic air handler: $2,000 to $5,000
- Subfloor and flooring involvement: $3,500 to $8,000
- Mold remediation if growth started: add $1,500 to $4,000
- HVAC platform rebuild or pan replacement: $400 to $1,500 (HVAC contractor)
Most homeowner policies cover sudden AC leaks under dwelling coverage. Cloverdale Water Restoration documents moisture readings, photos, and the scope in language adjusters accept, and we bill the insurance company directly when claims are open. If you want a fuller picture of pricing across leak types, our water damage restoration cost breakdown covers it line by line.
What Adjusters Look For in an AC Leak Claim
Claims get denied when the paperwork suggests the leak was gradual. Strengthen your file with:
- A dated service record showing the AC was working recently
- Photos of a clear drain line outside (proves the clog was sudden)
- Moisture maps from a certified restoration company
- An HVAC technician statement on the cause of failure
- Receipts for any emergency mitigation you paid for upfront
We submit all of this on your behalf so you are not chasing your adjuster between work calls.
3. Clear the Clog Yourself (When It Makes Sense)
About 70 percent of condensate leaks we see in Cloverdale are caused by algae or biofilm clogging the drain line. If the leak just started and damage is minor, try this first.
- Locate the cleanout tee near the air handler (capped PVC fitting)
- Remove the cap and look for standing water inside
- Use a wet/dry vacuum on the outdoor end of the line for 2 to 3 minutes
- Flush the cleanout with one cup of distilled white vinegar
- Wait 30 minutes, then flush with warm water to confirm flow
- Replace the cap and check the drip pan in 24 hours
If water still backs up, the clog is deeper, the pan is cracked, or the slope of the line is wrong. That is HVAC territory, not a DIY fix.
When to Skip the DIY Attempt Entirely
Some situations call for a pro from the first phone call. Do not start vacuuming or flushing if any of these apply:
- Water has already breached a ceiling below
- The float switch keeps tripping within minutes of resetting
- You see rust flakes or sediment around the pan (interior corrosion)
- The line vents through a wall cavity you cannot access
- Your unit is more than 12 years old and has never been serviced
- Multiple rooms show staining from a single attic unit
In those cases, you are not dealing with a simple clog. You are dealing with a system that is failing, and clearing the line just delays the next overflow by a week.